


Mini Compass, Pocket Compass, Portable Compasses. Mini Button Compass


Product Informations
| Model: |
C27P |
DC45-4 |
G20 |
MINI COMPASS |
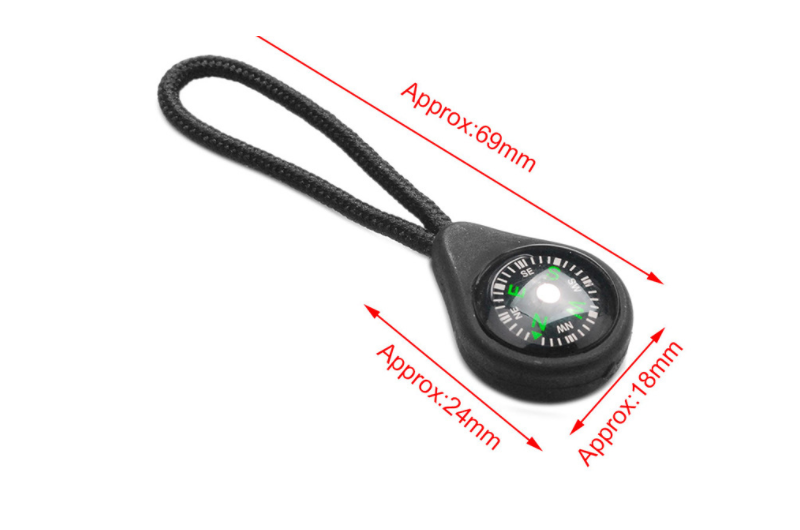
| Product size: | 68X30X10mm | 78X60X30MM | 69X18MM | 12 15 20 25mm |
| Material: | Plastic , ABS housing | Aluminum alloy Or Plastic case | Plastic body | ABS Housing or Metal Housing |
| Pcs/ carton: | 1000pcs | 500PCS | 1000pcs | 5000PCS |
| Weight/carton: | 15kg | 13.5KG | 7kg | 14KG |
| Carton size: | 41.5x39x22cm | 41X26X34CM | 40x35x35cm | 42X36X24CM |
| Short Description: | Plastic Toy Small Carabiner Compass for Outdoor Camping Hiking Travel | Flip waterproof compass multifunctional portable lanyard compass | Mini Compass for outdoor clothing/bags zipper puller | Mini Button Compass Outdoor Sport Camping Hiking Compass |
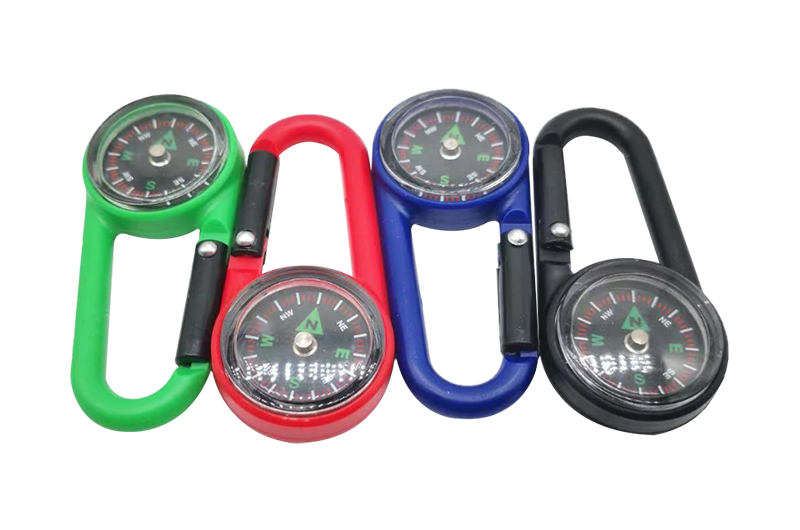
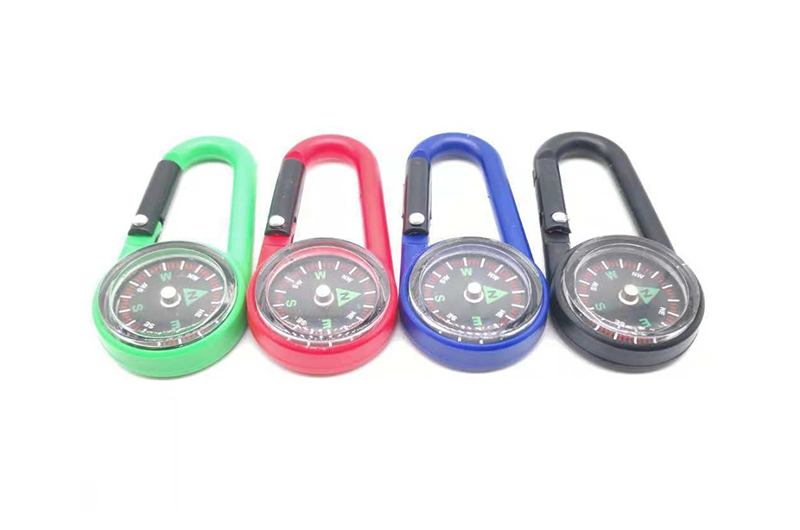
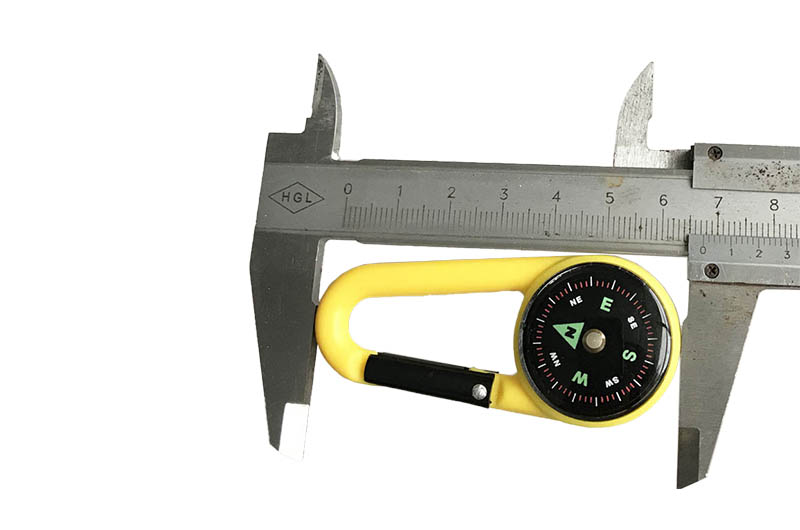
C27P Features:
Carabiner Compass
Plastic ABS housing
Insert 27mm dia. compass
Liquid filled for reliable readings
Not for climbing


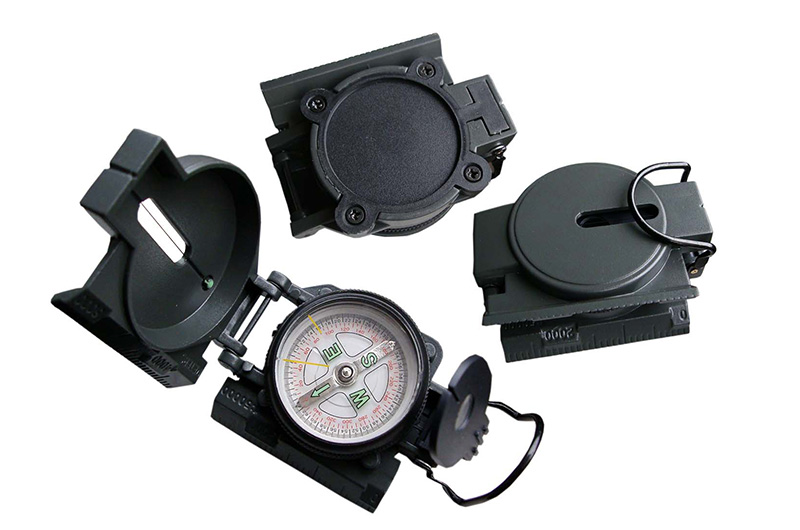
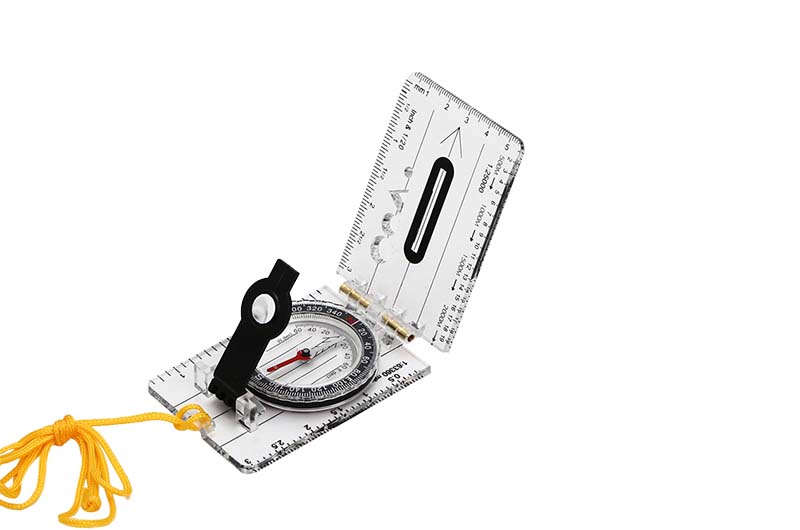
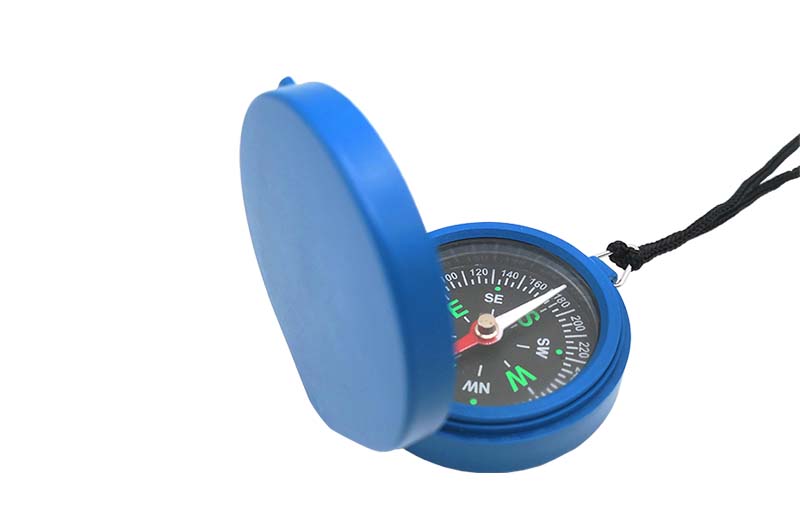
DC45-4 flip compass Features:
Color: Royal Blue, light blue (customizable)
1. The compass is strong and firm
2. Small and easy to carry
3. High sensitivity
4. Pointing accuracy
5. Waterproof, fall proof and shock proof
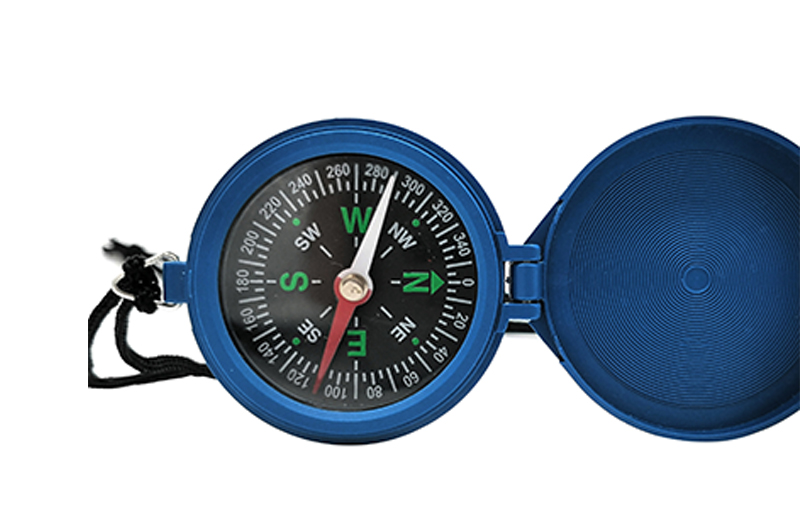


G20 Features:
1. Responsive and accurate pointing
2. Waterproof, anti falling and anti-seismic
3. multi-function

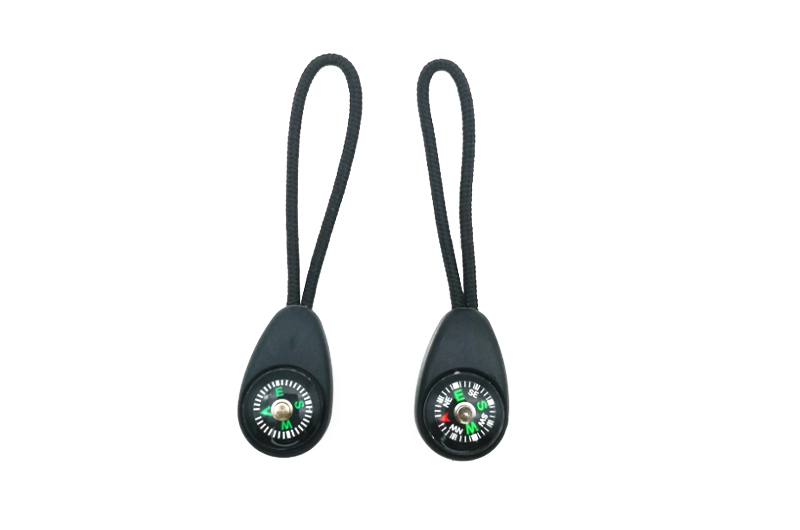
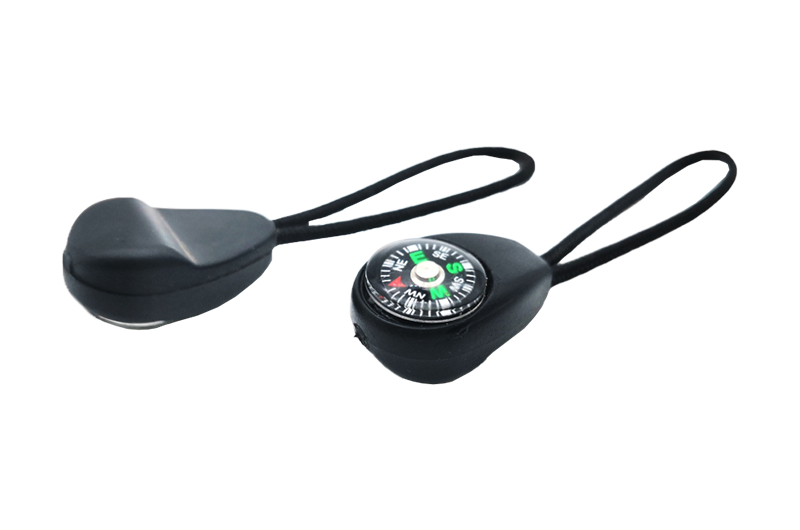
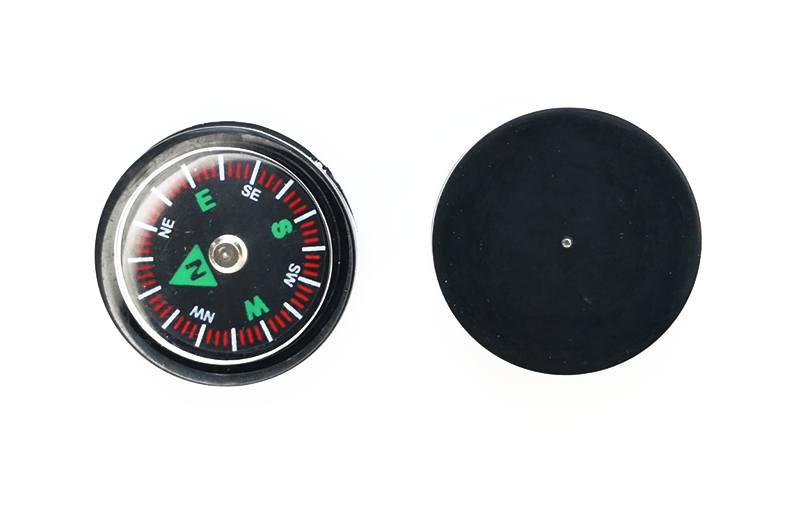
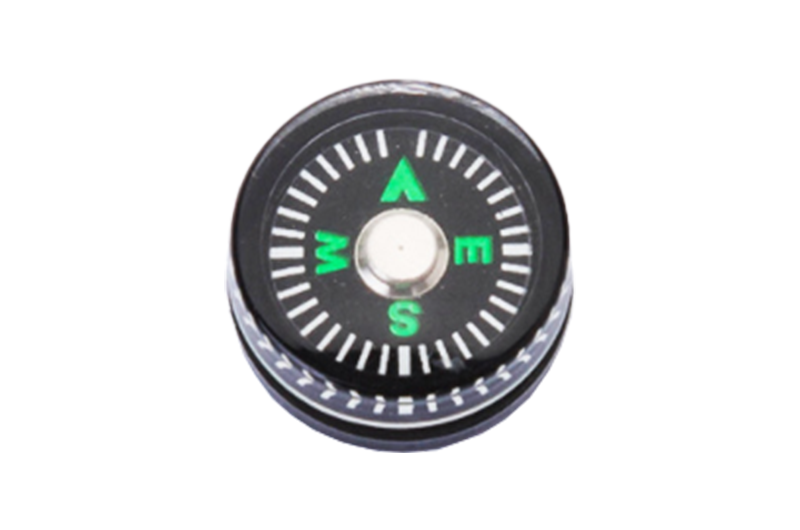
MINI COMPASS Features:
9 to 55mm flexible compass
Compass type: pointer type / disk type
Oiling: none / Yes
Weight: from 1g to
Material: ABS + acrylic
1. The compass is small and accurate.
2. The compass is suitable for product inlay, such as machinery and equipment, camera PTZ, flashlight, multi-functional key chain, etc., to increase the beauty and practicability of the product.
3. The compass can also be used as student teaching supplies and gift promotion.


How to use a compass?
1. Identify your location at any time and determine which direction your destination is in. If you are in the woods or in the wild, check your surroundings from time to time, check the compass and determine your position to ensure that you are moving in the right direction. Remember, unless you are in front of the north, the magnetic needle will jump. Rotate the dial until the directional arrow is in line with the north end of the magnetic needle. At this time, the pointing arrow will tell you the direction.Twist the dial to correct the deviation caused by geographical location, and rotate left or right according to the specific deflection. View the position of the pointing arrow and dial.
2. Continue to move in the direction indicated by the compass. Just take the compass in the right way, turn your body with the pointing arrow until the north end of the magnetic needle is in a straight line with the pointing arrow, and then walk in the direction of the pointing arrow. Remember to check the compass frequently, and be careful not to turn the dial casually..
3. Pay attention to the signs ahead. If you want to follow the direction of the arrow accurately, you should look at the arrow carefully, and then find a sign in front, such as a tree, telephone pole, etc. Don’t choose the sign too far away, like choosing a mountain. If the landmarks are too large, you can’t navigate accurately. After reaching the sign, continue to look for the next sign. If visibility is limited, you may not see things in the distance. You can use team members as road signs. Stand where you are, and then let your partner move from you in the direction indicated by the compass. When the other party moves forward, he can always correct the other party. When the other person reaches the limit of your line of sight, let the other person stop, and then you follow up. This is repeated to move in the direction.
4. Mark the way forward on the map. Place the map on a flat surface, then place the compass on the map so that the directional arrow points to the absolute north. If you know where the current position is on the map, put the compass in this position so that the edge of the compass just passes through this point, and the directional pointer still points to the absolute north.Draw a line along the edge of the compass through the current position. If you judge your position correctly, you should be in line with the line on the map when you move forward from your current position.
5. Try to use a map to record directions. First determine the direction of the destination, put the map on a flat surface, use the edge of the compass as a ruler, put the compass well, and draw a line between your current position and the destination. Rotate the dial until the directional arrow points to the absolute north pole on the map. At this time, the arrow will also connect the directional line on the compass with the longitude line on the map. After the dial position is determined, you can remove the map.At this time, the dial should be adjusted according to the difference caused by the East-West deviation. If it is in the west side area, increase the number appropriately, and if it is in the east side area, subtract the number. This is the opposite of using a compass to confirm the position. This is important.
6. Navigate with the newly recorded azimuth. Point the arrow in the direction opposite to the direction of your chest, and then point the arrow in front of you. Turn your body until the north end of the magnetic needle is in line with the orientation needle, and you can move in this direction towards the destination on the map.