


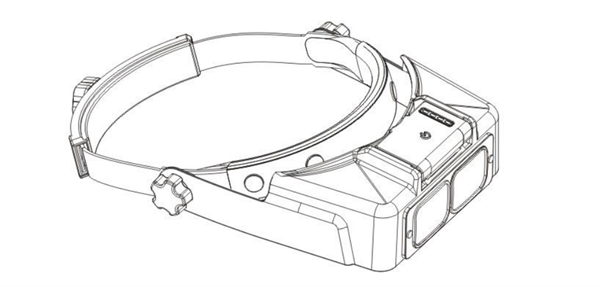
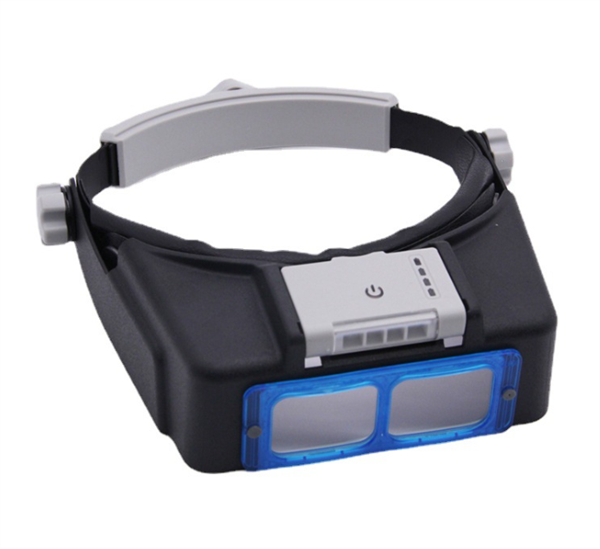
4 LED POWER DISPLAY HEAD MOUNTED MAGNIFIER
Battery model:702025 Voltage:3.7V Battery capacity:300Ma
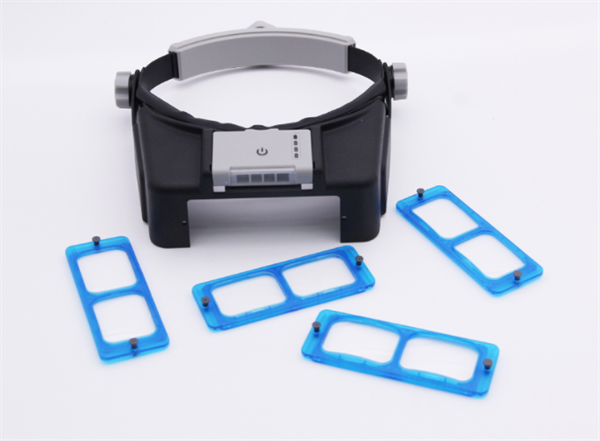
Lens magnification:1.5x,2.0x,2.5x,3.5x Lens Material: Optical lens.
For your safety, please read this manual carefully before use and keep it for future reference
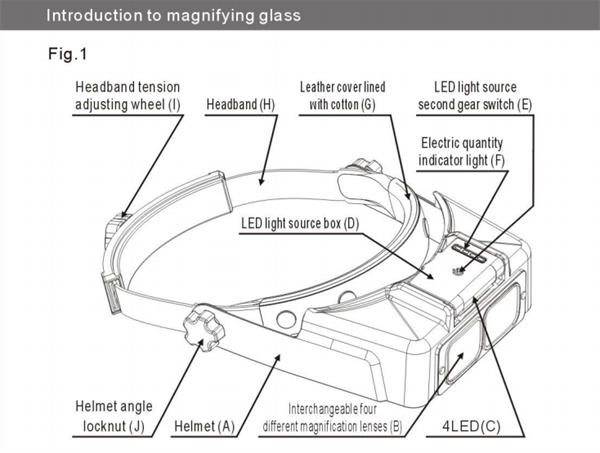
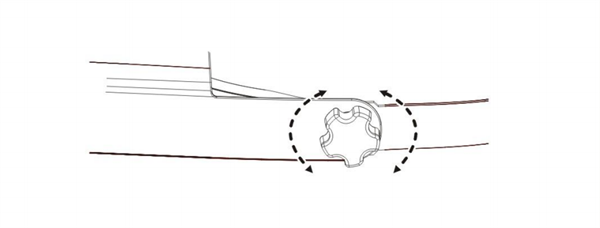
Fig.2
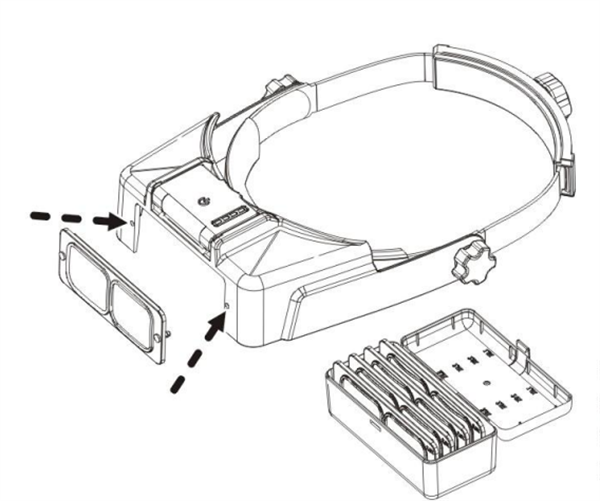
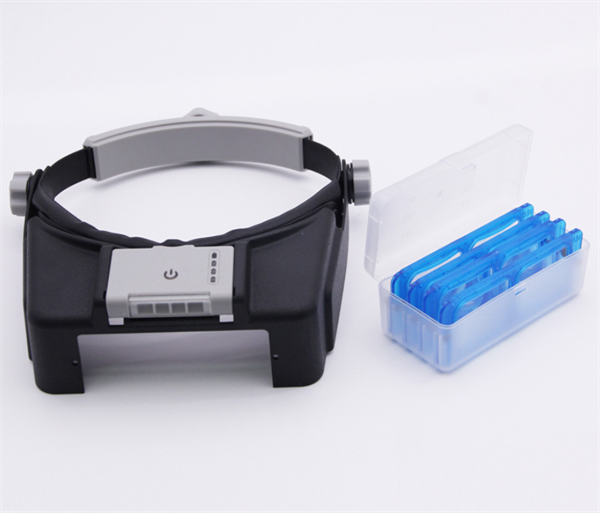
The lenses with appropriate magnification are: 1.5x.2.0x.2.5x and 3.5x which can be used interchangeably.
Fig.3
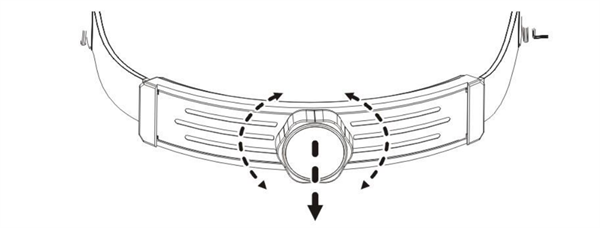
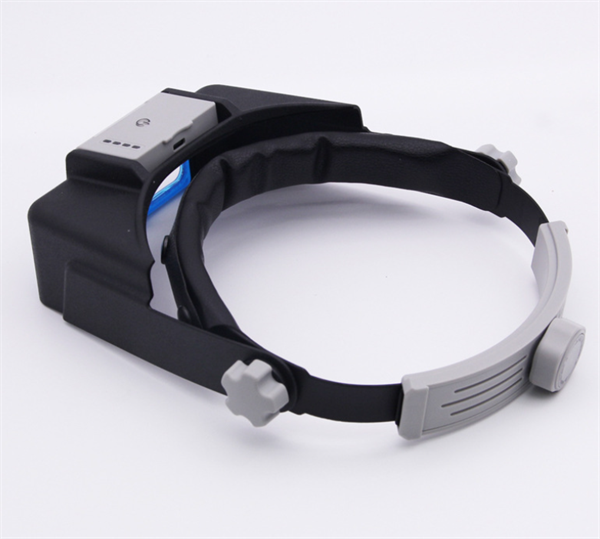
Pull the tension adjusting wheel (I) at the back of the headband out for 3mm , rotate counterclockwise to loosen the headband , rotate clockwise to adjust the tension , and then press the tension adjusting wheel (I) inward to lock the headband.
Fig.4
Loosen the Locknuts (J ) on both sides by counterclockwise rotation , adjust the upper and lower angle of the helmet to a proper angle , and then rotate the Locknuts ( J ) clockwise to fix it.
Fig.5
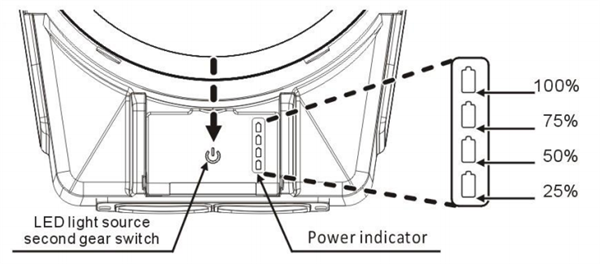
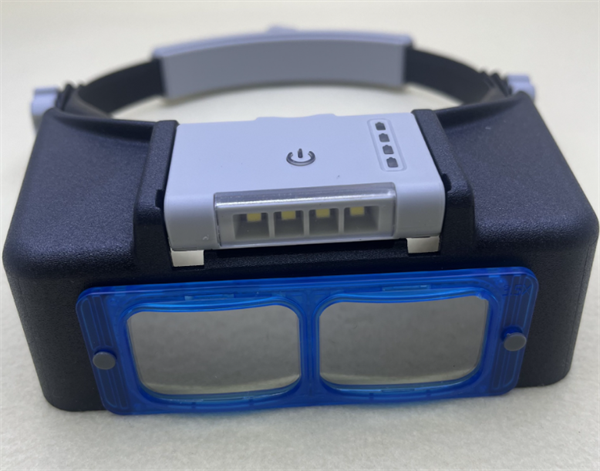
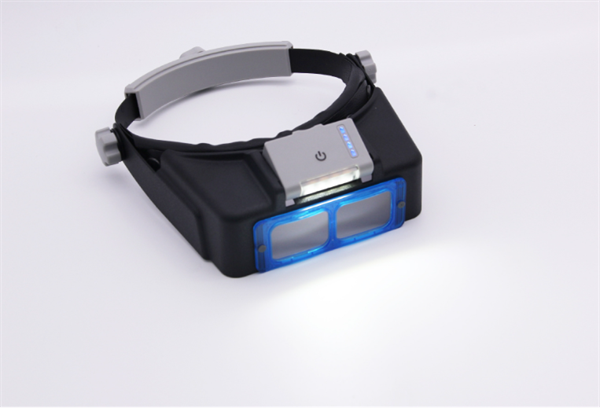
A Operating instructions for light source switch : when the light is insufficient ,the 4LED ( C ) light source can be turned on , press the LED light source switch ( E ) for the first time to turn on soft light . press the LED light source switch ( E ) for the second time to turn on the high light Press the LED light source switch ( E ) for the third time to turn off the light source .
B Description of power display : when the LED light source switch ( E ) is turned on the first gear ( soft light ) , it can stay on for 6-7 hours ; when the LED light source switch ( E ) is turned on the second gear ( high light ) , it can stay on for 3-4 hours , when the power indicator light ( F ) is displayed in the last grid ( 25 % of the remaining power ) , it needs to be ready for charging , when the power indicator light ( F ) is flashing in the last grid . It indicates that the power is about to be exhausted and charging needs to be carried out immediately.
Fig.6
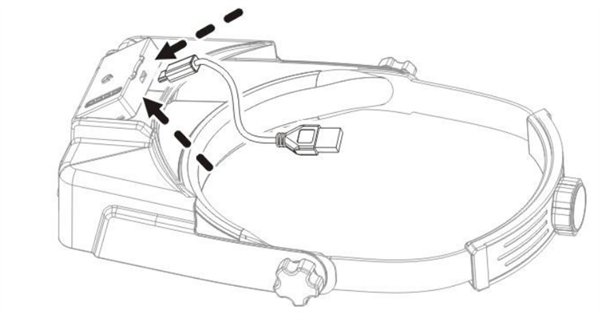
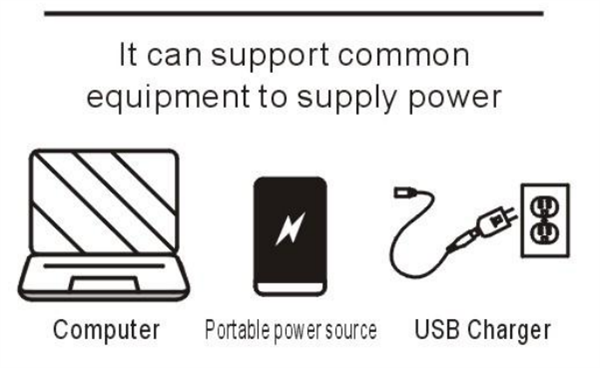
Connect the C end of the Type-c USB charging cable to the power interface at the end of the LED light source box( D ) , then connect the USB end of the charging cable to the USB interfaceor the USB plug , and then plug the USB plug into the 100-240V power socket for charging . After 1.5 hours of charging. when all the power indicator lights ( Fare blue , and the front battery indicator light ( 100 % power indicator light is no longer flashing , it indicates that the battery is fully charged.
Lens parameters and precautions
Magnification Focus
1.5X 333mm
2.0X 250mm
2.5X 200mm
3.5X 142mm
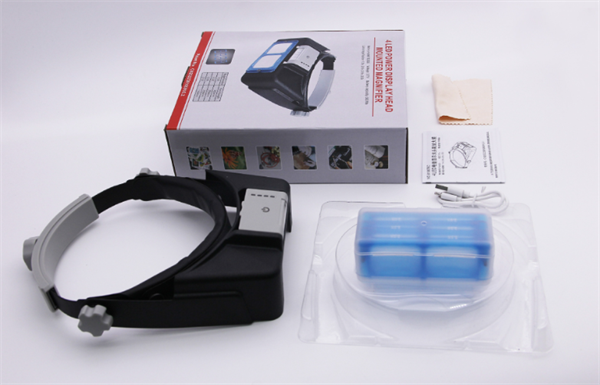
Product’s pictures as below:

Post time: Dec-09-2022