


APPLICATION
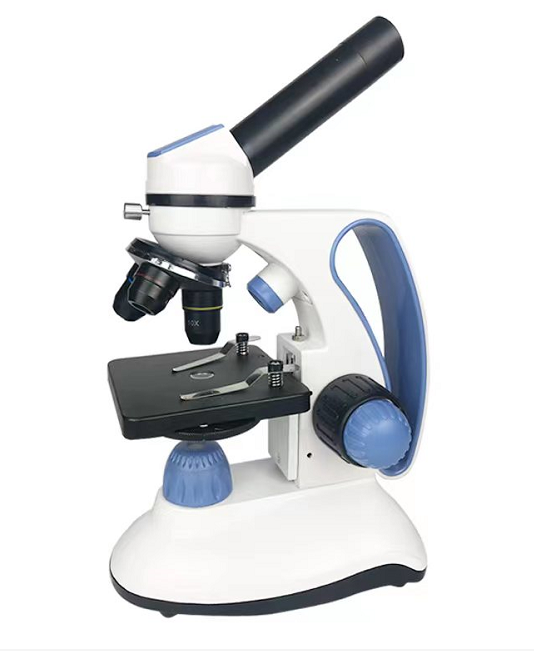
This microscope is designed for research, instruction ,and experiments in schools.
SPECIFICATIONS
1.Eyepiece:
| Type | Magnification | Vision field’s Distance | |
| WF | 10X | 15mm | |
| WF | 25X |
2.Abbe condenser(N.A.0.65),variable disc diaphragm,
3.Coaxial focus adjustment,and rack&pinion with built in.
4.Objective:
| Type | Magnification | N.A | Working Distance |
|
Achromatic |
4X | 0.1 | 33.3mm |
| 10X | 0.25 | 6.19mm | |
| 40X(S) | 0.65 | 0.55mm |
5.Illumination:
|
Selective Part |
Lamp | Power |
| Incandescent Lamp | 220V/110V | |
| LED | Charger or battery |
ASSEMBLY INSTRUCTIONS
1.Remove microscope stand from Styrofoam packing and place it on a stable worktable.Remove all plastic bags and paper covering(these can be discarded).
2.Remove the head from the Styrofoam, remove packing materials and fit it onto the neck of the microscope stand, tightening the screw clamp as necessary to hold the head in place.
3.Remove the plastic eyepiece tube covers from head and insert the WF10X Eyepiece.
4.Connect cord to power supply and your microscope is ready for use.
OPERATION
1.Make sure the 4X objective is in position for use. This will make it easier to put your slide in place as well as to position the item you wish to look at.(You start at low magnification and work up.) Put a slide on the stage and clamp it carefully with the moveable spring clip.
2.Connect the power and turn on the switch.
3.Always begin with the 4X Objective. Turn the focusing knob until a clear image is obtained. When the desired view is obtained under the lowest power (4X), rotate the nosepiece to the next higher magnification (10X). The nosepiece should ”click” into position. Adjust the focusing knob as needed to once again have a clear view of the specimen.
4.Turn the adjustment knob, observing the image of the specimen through the eyepiece.
5.The dis diaphragm below the stage to control the amount of light directed through the condenser. Try experimenting with various settings to get the most effective view of your specimen.
MAINTENANCE
1.The microscope should be kept out of direct sunlight in a cool, dry place, free from dust, fumes and moisture. It should be stored in a case or covered with a hood to protect it from dust.
2.The microscope has been carefully tested and inspected. Since all lenses have been carefully aligned, they should not be disassembled. If any dust has settled on the lenses, blow it off with an air blower or wipe off with a clean soft camel hairbrush. In cleaning mechanical parts and applying non-corrosive lubricant, take special care not to touch the optical elements, especially the objective lenses.
3.When disassembling the microscope for storage, always put the covers on the nosepiece opening to prevent dust settling inside the lenses. Also keep the neck of the head covered.
Post time: Oct-14-2022